Table of contents
Almost every successful electronics engineer, roboticist or IoT developer started at the same place — a small kit on a desk, a laptop, a breadboard and a lot of curiosity. This guide is for anyone standing at that starting line right now.
If you are an engineering student, diploma or ITI learner, a school or college hobbyist, or simply someone who has always wanted to build real electronics, this article will walk you through exactly what a development kit is, why it matters, and how to choose the one that actually helps you learn instead of collecting dust.
What is a Development Kit?
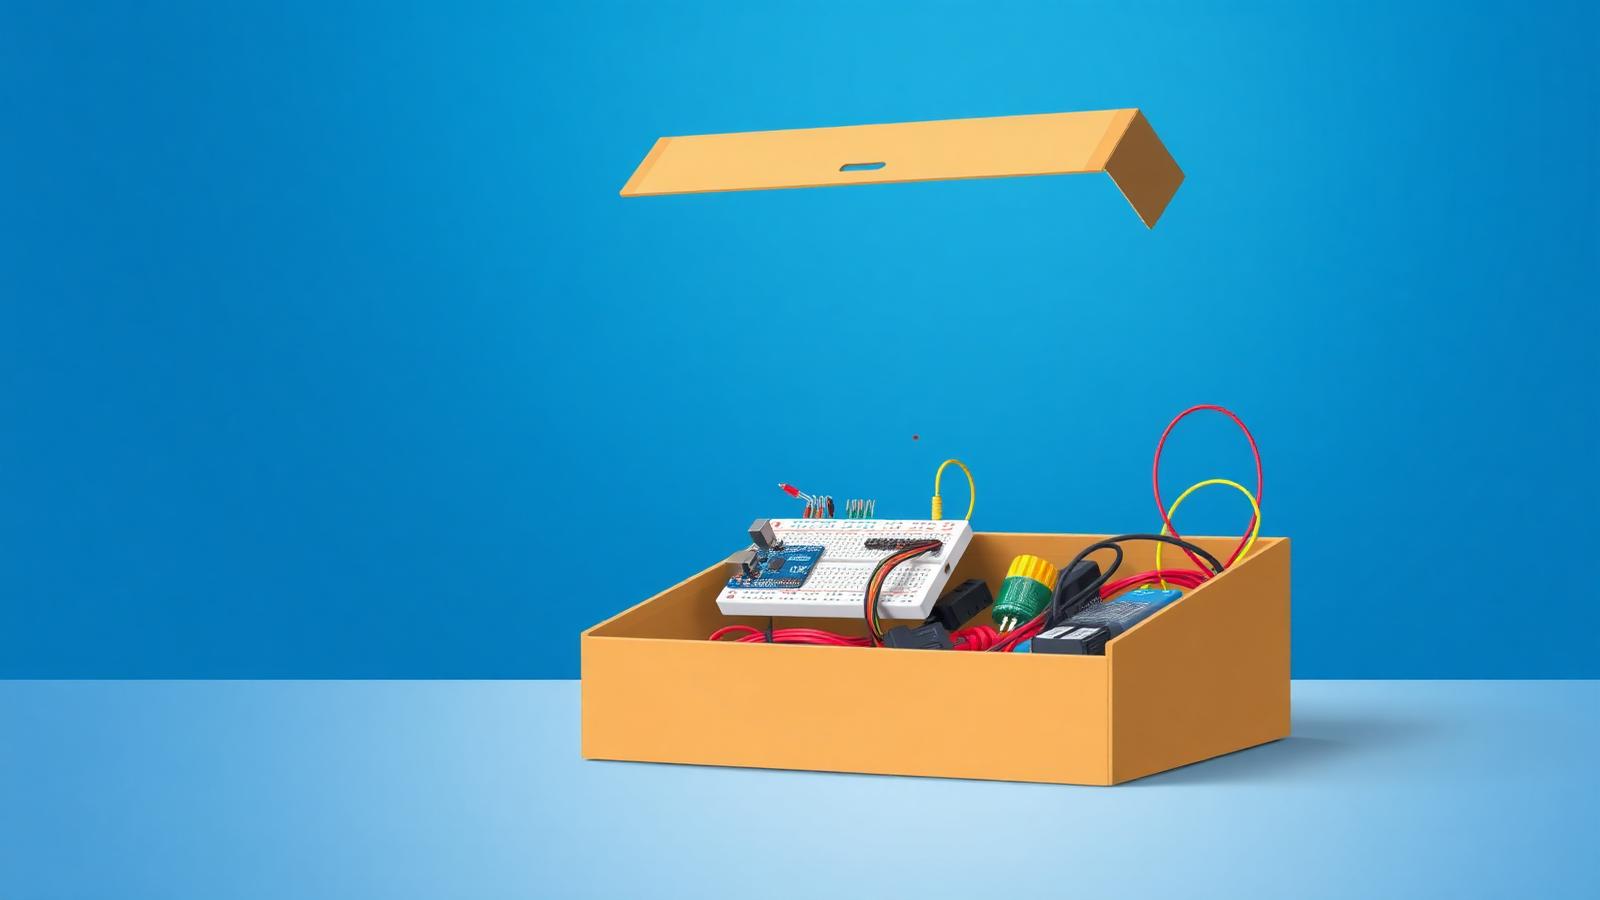
A development kit is a curated bundle of electronic components built around a microcontroller such as Arduino or ESP32. Instead of shopping for parts individually, you get a single box that contains a compatible microcontroller, sensors, actuators, wires and accessories — everything you need to start building working projects on day one.
Think of it as a chef's starter set. You could buy the pan, the knife, the spatula and the spices one by one, or you could pick up a professionally selected kit and start cooking the same evening.
Why Beginners Should Use a Kit
The biggest reason students give up on electronics is not difficulty — it is friction. A missing jumper wire, an incompatible sensor, a wrong voltage rating, or a driver that will not install can kill motivation in a single afternoon.
A good development kit removes almost all of that friction:
- Everything is tested and known to work together.
- The microcontroller matches the sensors' voltage levels.
- Documentation and example projects are aligned with the exact parts inside.
- You do not lose weeks waiting for a single 10-rupee sensor to arrive.
Benefits Over Buying Components Individually
- Lower total cost. Buying a kit is almost always cheaper than assembling the same list of parts one order at a time.
- Zero compatibility issues. Every sensor, module and cable in a good kit is selected to work with the included microcontroller.
- Faster start. You are building blinking-LED and sensor-driven projects on day one, not day fifteen.
- Structured learning. Most kits come with a project guide or a supported curriculum, so you always know what to build next.
- Better resale and reuse value. All the components live in one organised box and can be reused across dozens of projects.
What's Typically Included in a Kit
A well-designed electronics development kit usually contains:
Breadboard
A solderless prototyping board where you plug in components to build circuits temporarily. Every kit should have at least one 400-tie or 830-tie breadboard.
Microcontroller (Arduino, ESP32 or both)
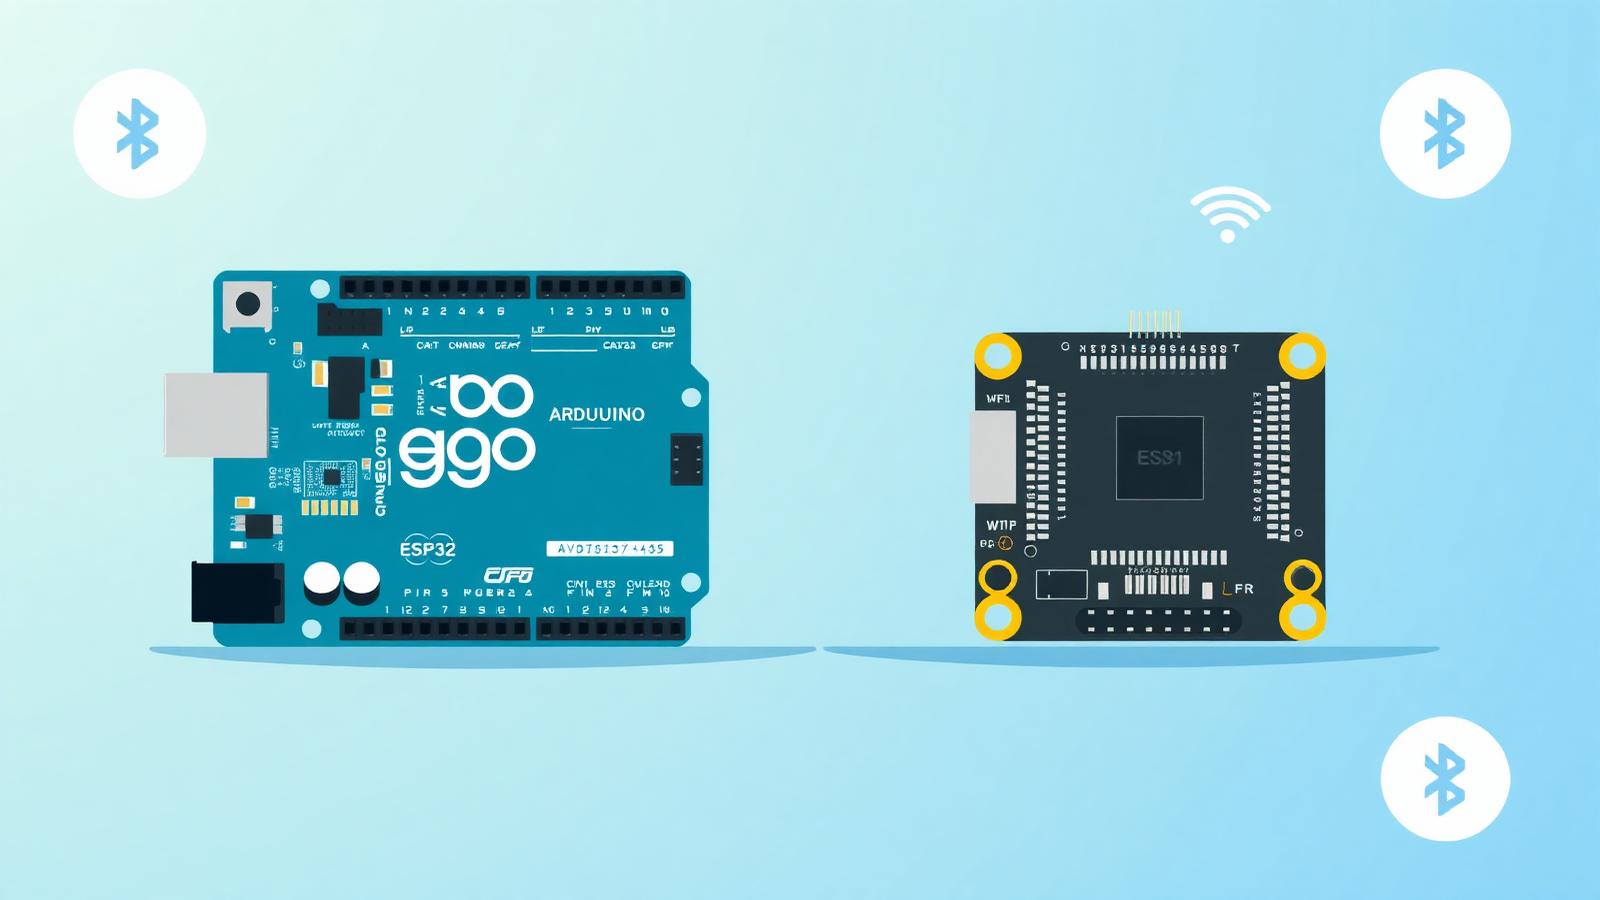
The brain of every project. Arduino UNO is best for classical electronics learning, ESP32 is best for IoT and modern connected projects. Some advanced kits include both.
LEDs and resistors
Basic output components. LEDs are how you first learn digital output, PWM and blinking logic. Resistors are how you learn Ohm's law without frying anything.
Sensors
Devices that read the physical world — temperature, humidity, motion, light, distance, gas, flame, moisture and so on. Sensors are what turn a microcontroller into a smart system.
Jumper wires
Male-to-male, male-to-female and female-to-female wires used to connect the breadboard, the microcontroller and the modules. A kit without enough jumper wires is like a workshop without screws.
LCD and OLED display
Screens to show real-time values, menus and status messages. An LCD or OLED transforms a project from a black box into a real product.
Motors and drivers
DC motors, servo motors, and stepper motors — plus the driver ICs like L298N — for anything that needs to move: robots, cars, arms, grippers.
Buzzer and relay
Buzzers give audio feedback and alerts. Relays let a low-voltage microcontroller safely control high-voltage AC loads, which is the foundation of home automation.
RFID, keypad and switches
For projects involving user input, access control and interactive interfaces.
Optional extras
A USB cable, a power adapter, a carry case and a printed project guide are small details that make a big difference in daily use.
Practical Learning Approach
The best learning path with a development kit follows a predictable ladder:
- Blink an LED. This is the "hello world" of electronics. Do not skip it.
- Read a button and toggle an LED. You now understand input and output.
- Read an analog sensor like an LDR or a potentiometer. You now understand ADC.
- Drive an LCD, then a relay, then a servo. You now understand actuators.
- Combine sensor + logic + actuator into a mini project (for example, an automatic night lamp). You are now a maker.
- Add Wi-Fi with ESP32 and push data to the cloud. You are now an IoT developer.
- Design your own project from scratch. You are ready for final-year and hackathon-level work.
Every step in this ladder can be done with a single well-selected kit.
Common Beginner Mistakes
- Buying random components instead of a kit. You end up with 3 wires missing, 2 wrong sensors and no time to learn.
- Skipping the basics. Rushing to a robot before understanding digital I/O leads to frustration and burnout.
- Not reading the pinout diagram. ESP32 in particular has boot-strapping pins and input-only pins that behave unexpectedly if ignored.
- Mixing 5V and 3.3V logic without a level shifter. This is the number one cause of dead ESP32 boards among students.
- Not documenting your projects. Take photos, save the code with comments, write a short readme. Your future self and your interviewers will thank you.
- Working alone. Join a community, follow tutorials, ask questions. Electronics is much easier when you learn out loud.
How to Choose the Right Kit
Ask yourself three simple questions:
1. What is my current level?
- Complete beginner — start with a Starter Kit.
- Some basics done, ready for IoT — Intermediate Kit.
- Building final-year projects or industry prototypes — Advanced Kit.
2. What is my goal?
- Just learning fundamentals — an Arduino-based Starter Kit is enough.
- Building smart / connected products — you need ESP32 in the kit.
- Both, plus robotics and sensors — you need an Advanced Kit that combines Arduino and ESP32.
3. How long am I planning to stay in electronics?
- If this is a one-week experiment, buy small.
- If this is a career direction, invest in a kit that will last you at least a year of projects.
Recommended Kit Progression
At Ampex India we designed our three development kits exactly around the ladder above, so students never outgrow their setup:
Starter Development Kit
Arduino UNO R3 with breadboard, LEDs, sensors, jumper wires, buzzer, LCD and more. Perfect for absolute beginners learning digital I/O, ADC and mini projects.
Intermediate Development Kit
ESP32-based with additional modules — motor driver, servo, RFID, relay, sensors — for IoT, robotics and automation projects.
Advanced Development Kit
ESP32 plus Arduino UNO R3 together with 24+ components including gas, PIR and flame sensors, motors and relays. Perfect for final-year projects, hackathons and industry-grade prototypes.
You can start at any level, and every kit is designed to complement the ones above and below it.
Final Thoughts
The best development kit is the one you actually open, plug in and build with. Whether you spend a weekend blinking LEDs or a semester building an IoT weather station, the important thing is that you keep going.
Ready to start building real electronics projects? Explore our Starter, Intermediate, and Advanced Development Kits at Ampex India and begin your hands-on learning journey today.
Ready to build real-world electronics projects?
Explore our Starter, Intermediate and Advanced Development Kits and start your hands-on learning journey with Ampex India.
Written by
Ampex India Team
Ampex India designs quality electronic development kits and components for engineering students, hobbyists and makers across India — combining reliable hardware with practical learning resources.
About Ampex India